Curl your natural lashes using the Maia Lashes advanced lash curler

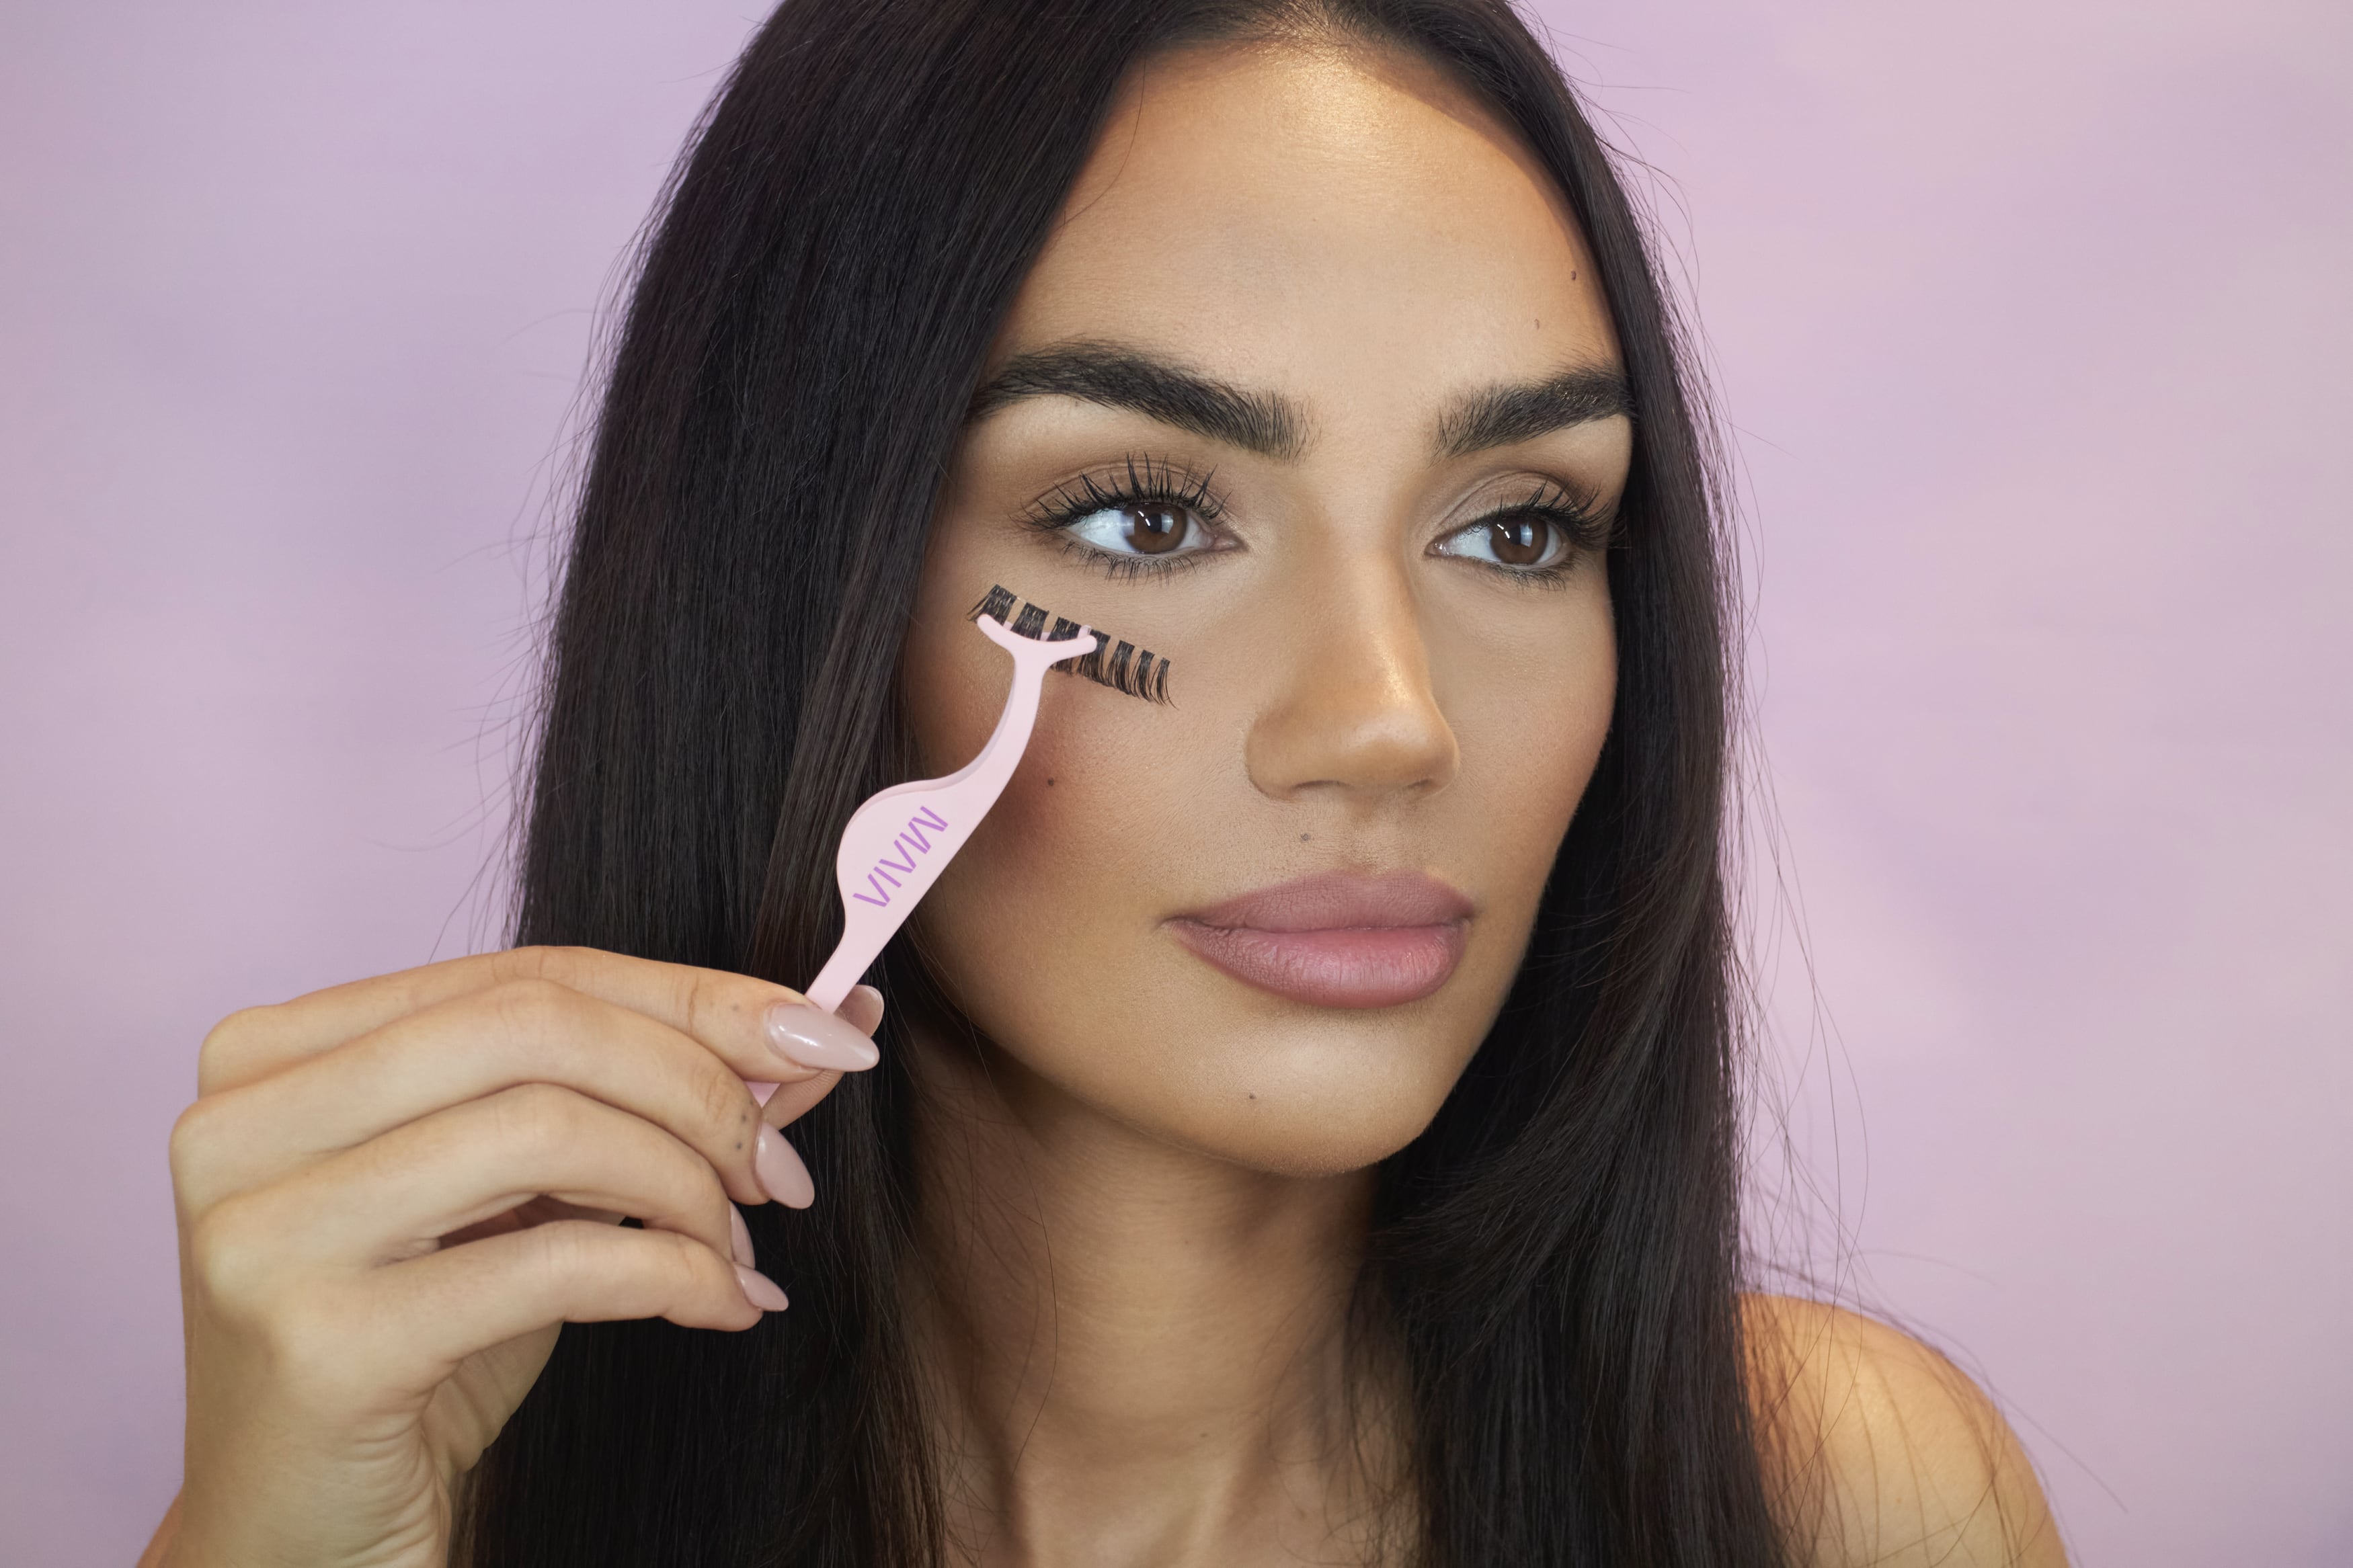
Measure your lashes by holding it up against your lash line to find the most natural fit for your lashes.
Trim the lash band to size using our lash scissors, making sure that you trim at the outer corner so that your lash stays in shape.


Using one of our Maia Lashes Adhesives, brush a thin layer of glue to the lash band and let it dry until it’s tacky. Add a little extra to the corners for even better hold.
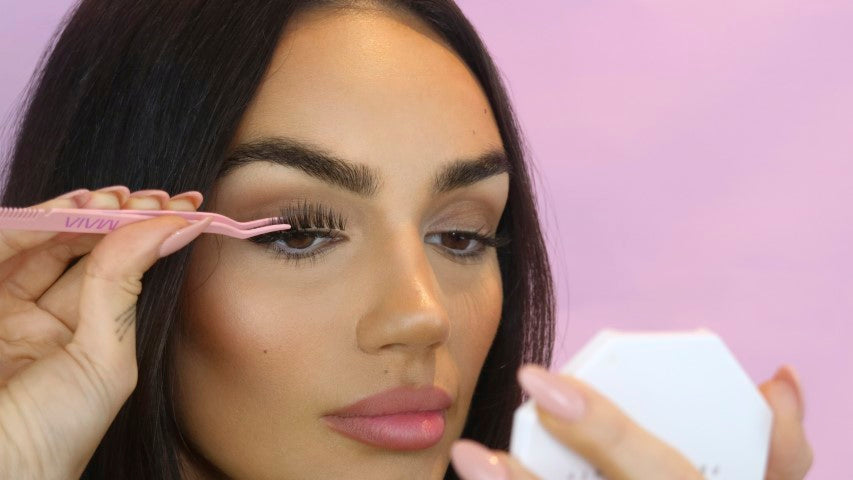
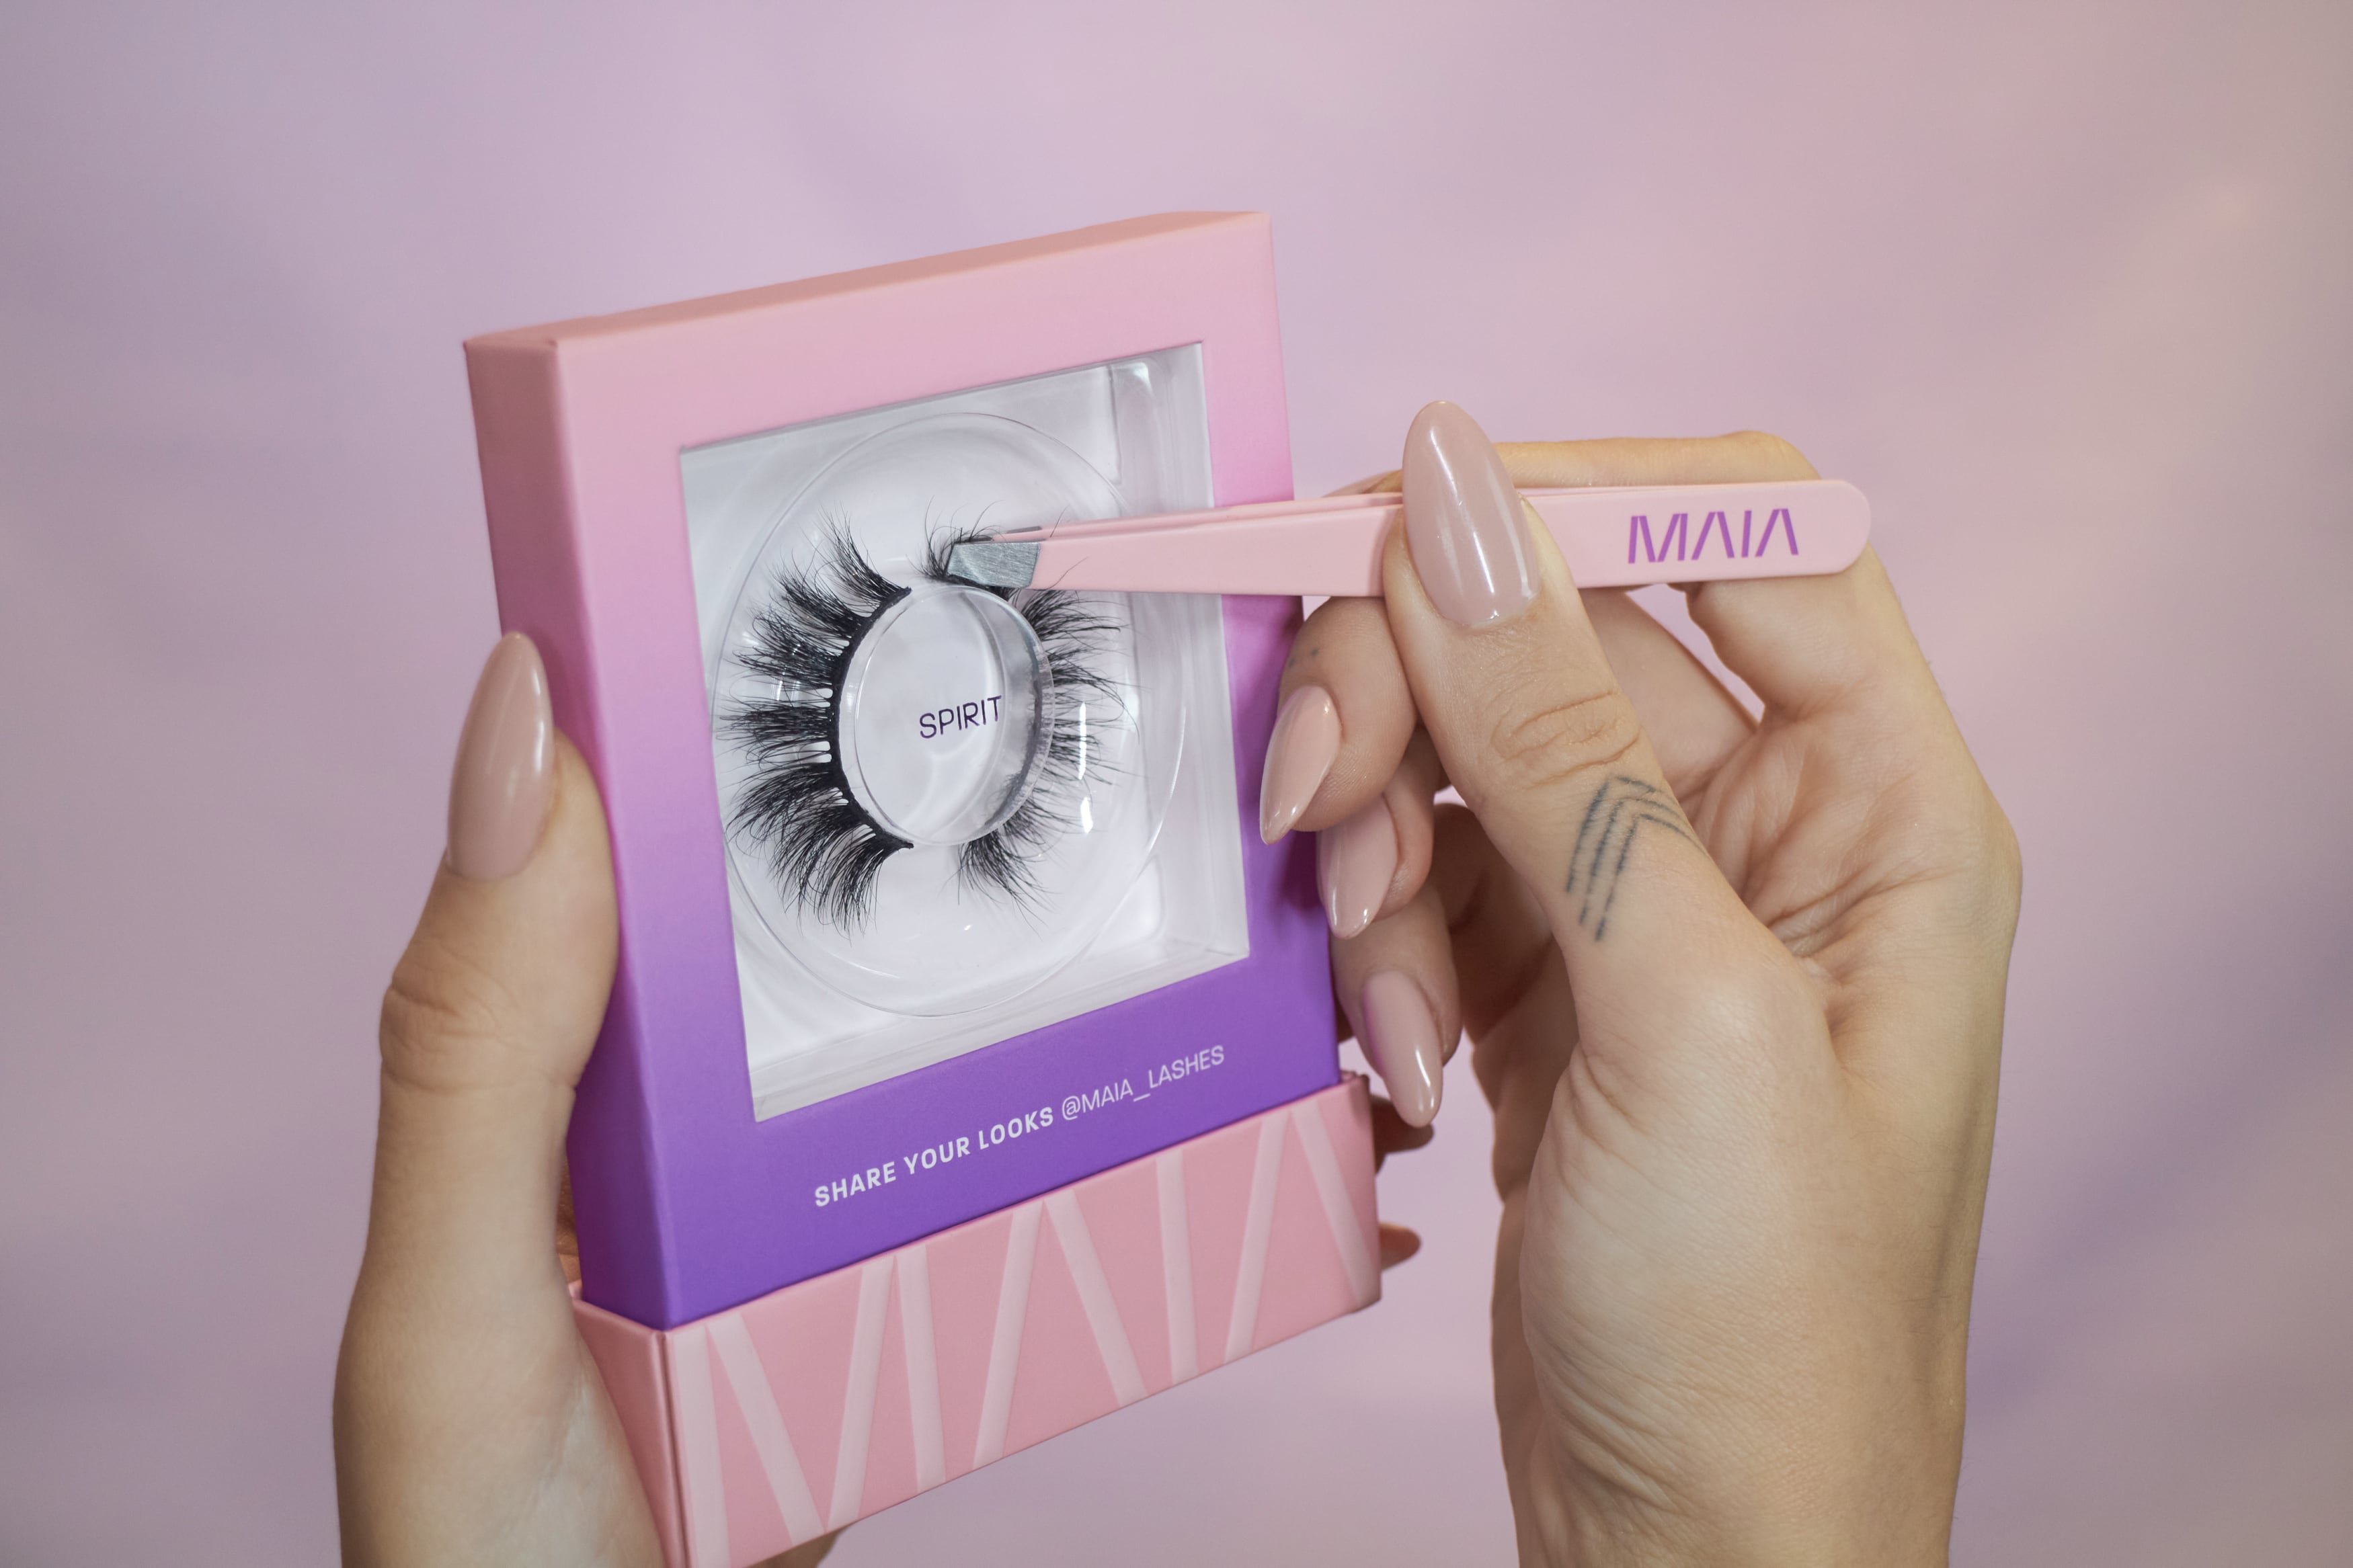
Using one of our lash applicators or tweezers, pick up the lash and place on top of your own lashes, as close to the lash line as possible. Press down the corners gently to make sure they’re secure.
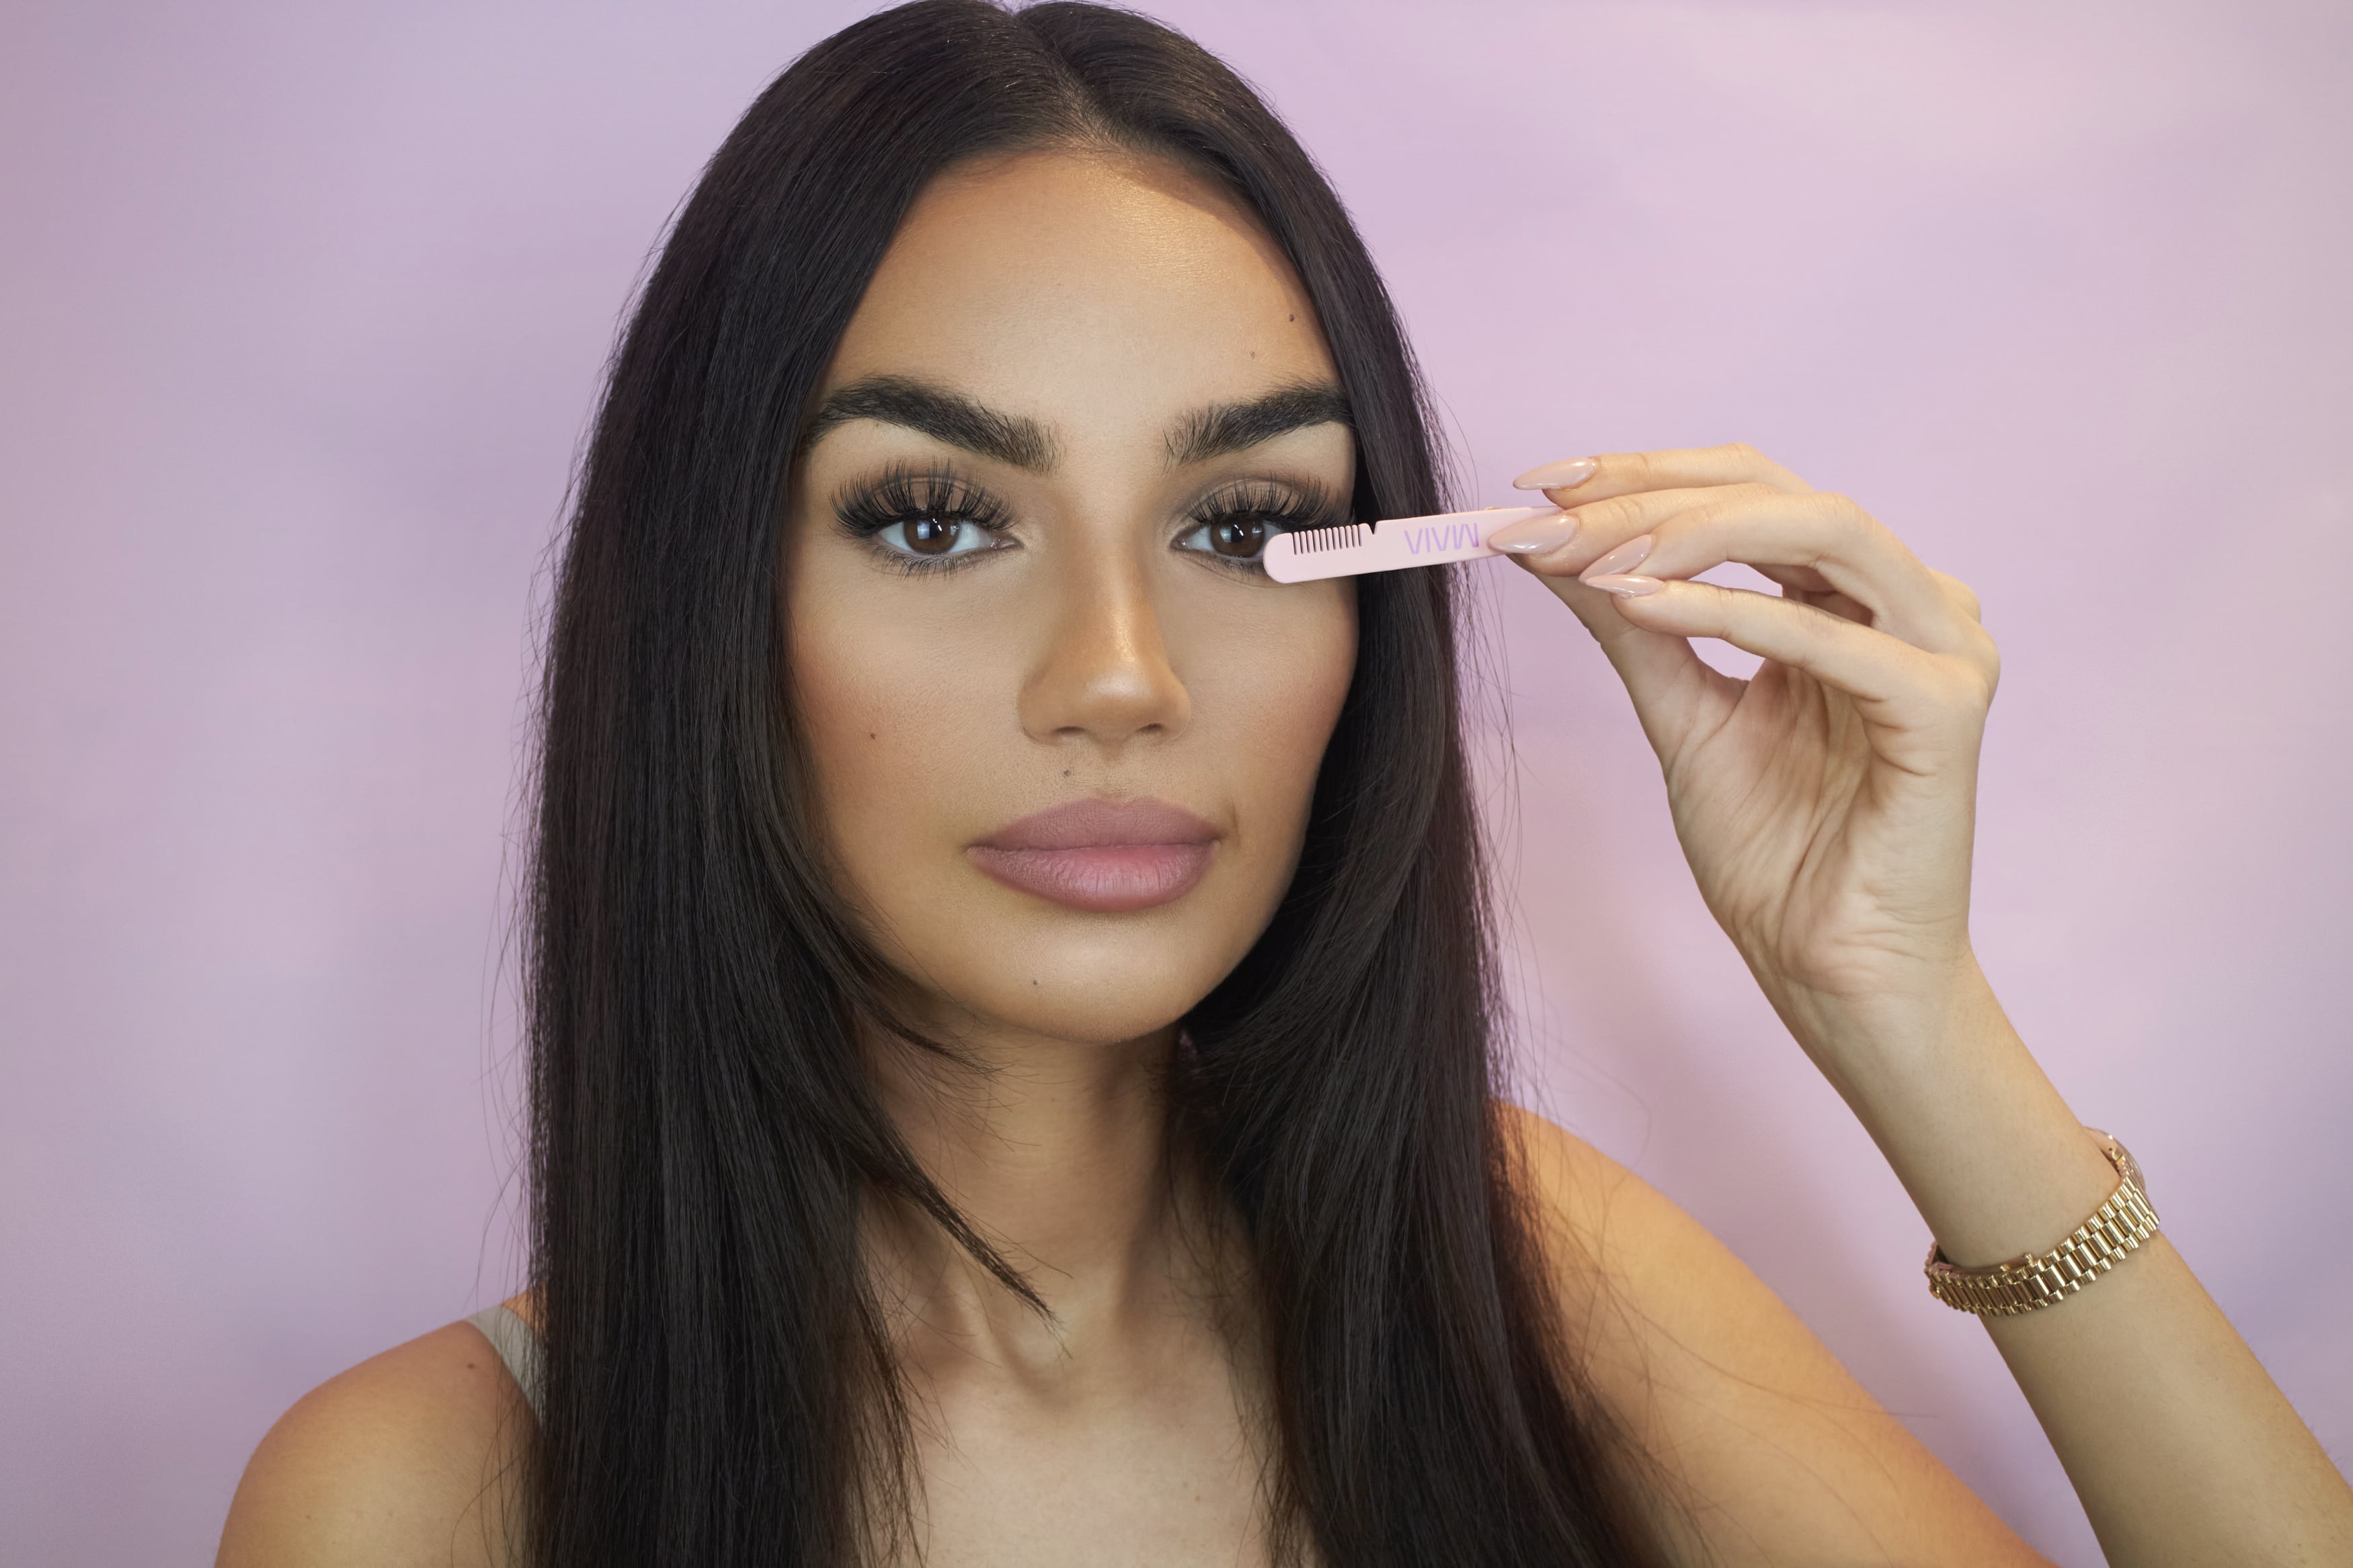
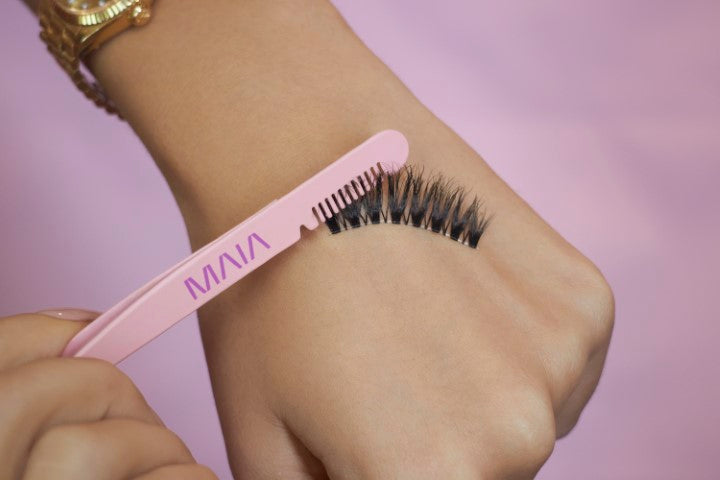
Once the lash adhesive has dried and you’re happy with your lash placement, brush them upwards using the comb on your lash applicator for the most natural lash look.
Your lashes are in place and you’re ready to go!
Want to find your fave style? Take a look at the styles you can pick up at Maia Lashs. Shop All Lashes.

To get the most out of your lashes, and to keep them looking good for longer, you’ll need to give them a little TLC. Here’s how to make sure your lashes last for 25+ wears.
You don’t need to use mascara when you have amazing false lashes. Skip the mascara as it can damage your false lashes and stop them from lasting as long. If you really can’t give it up, apply mascara to your own lashes before you apply them.
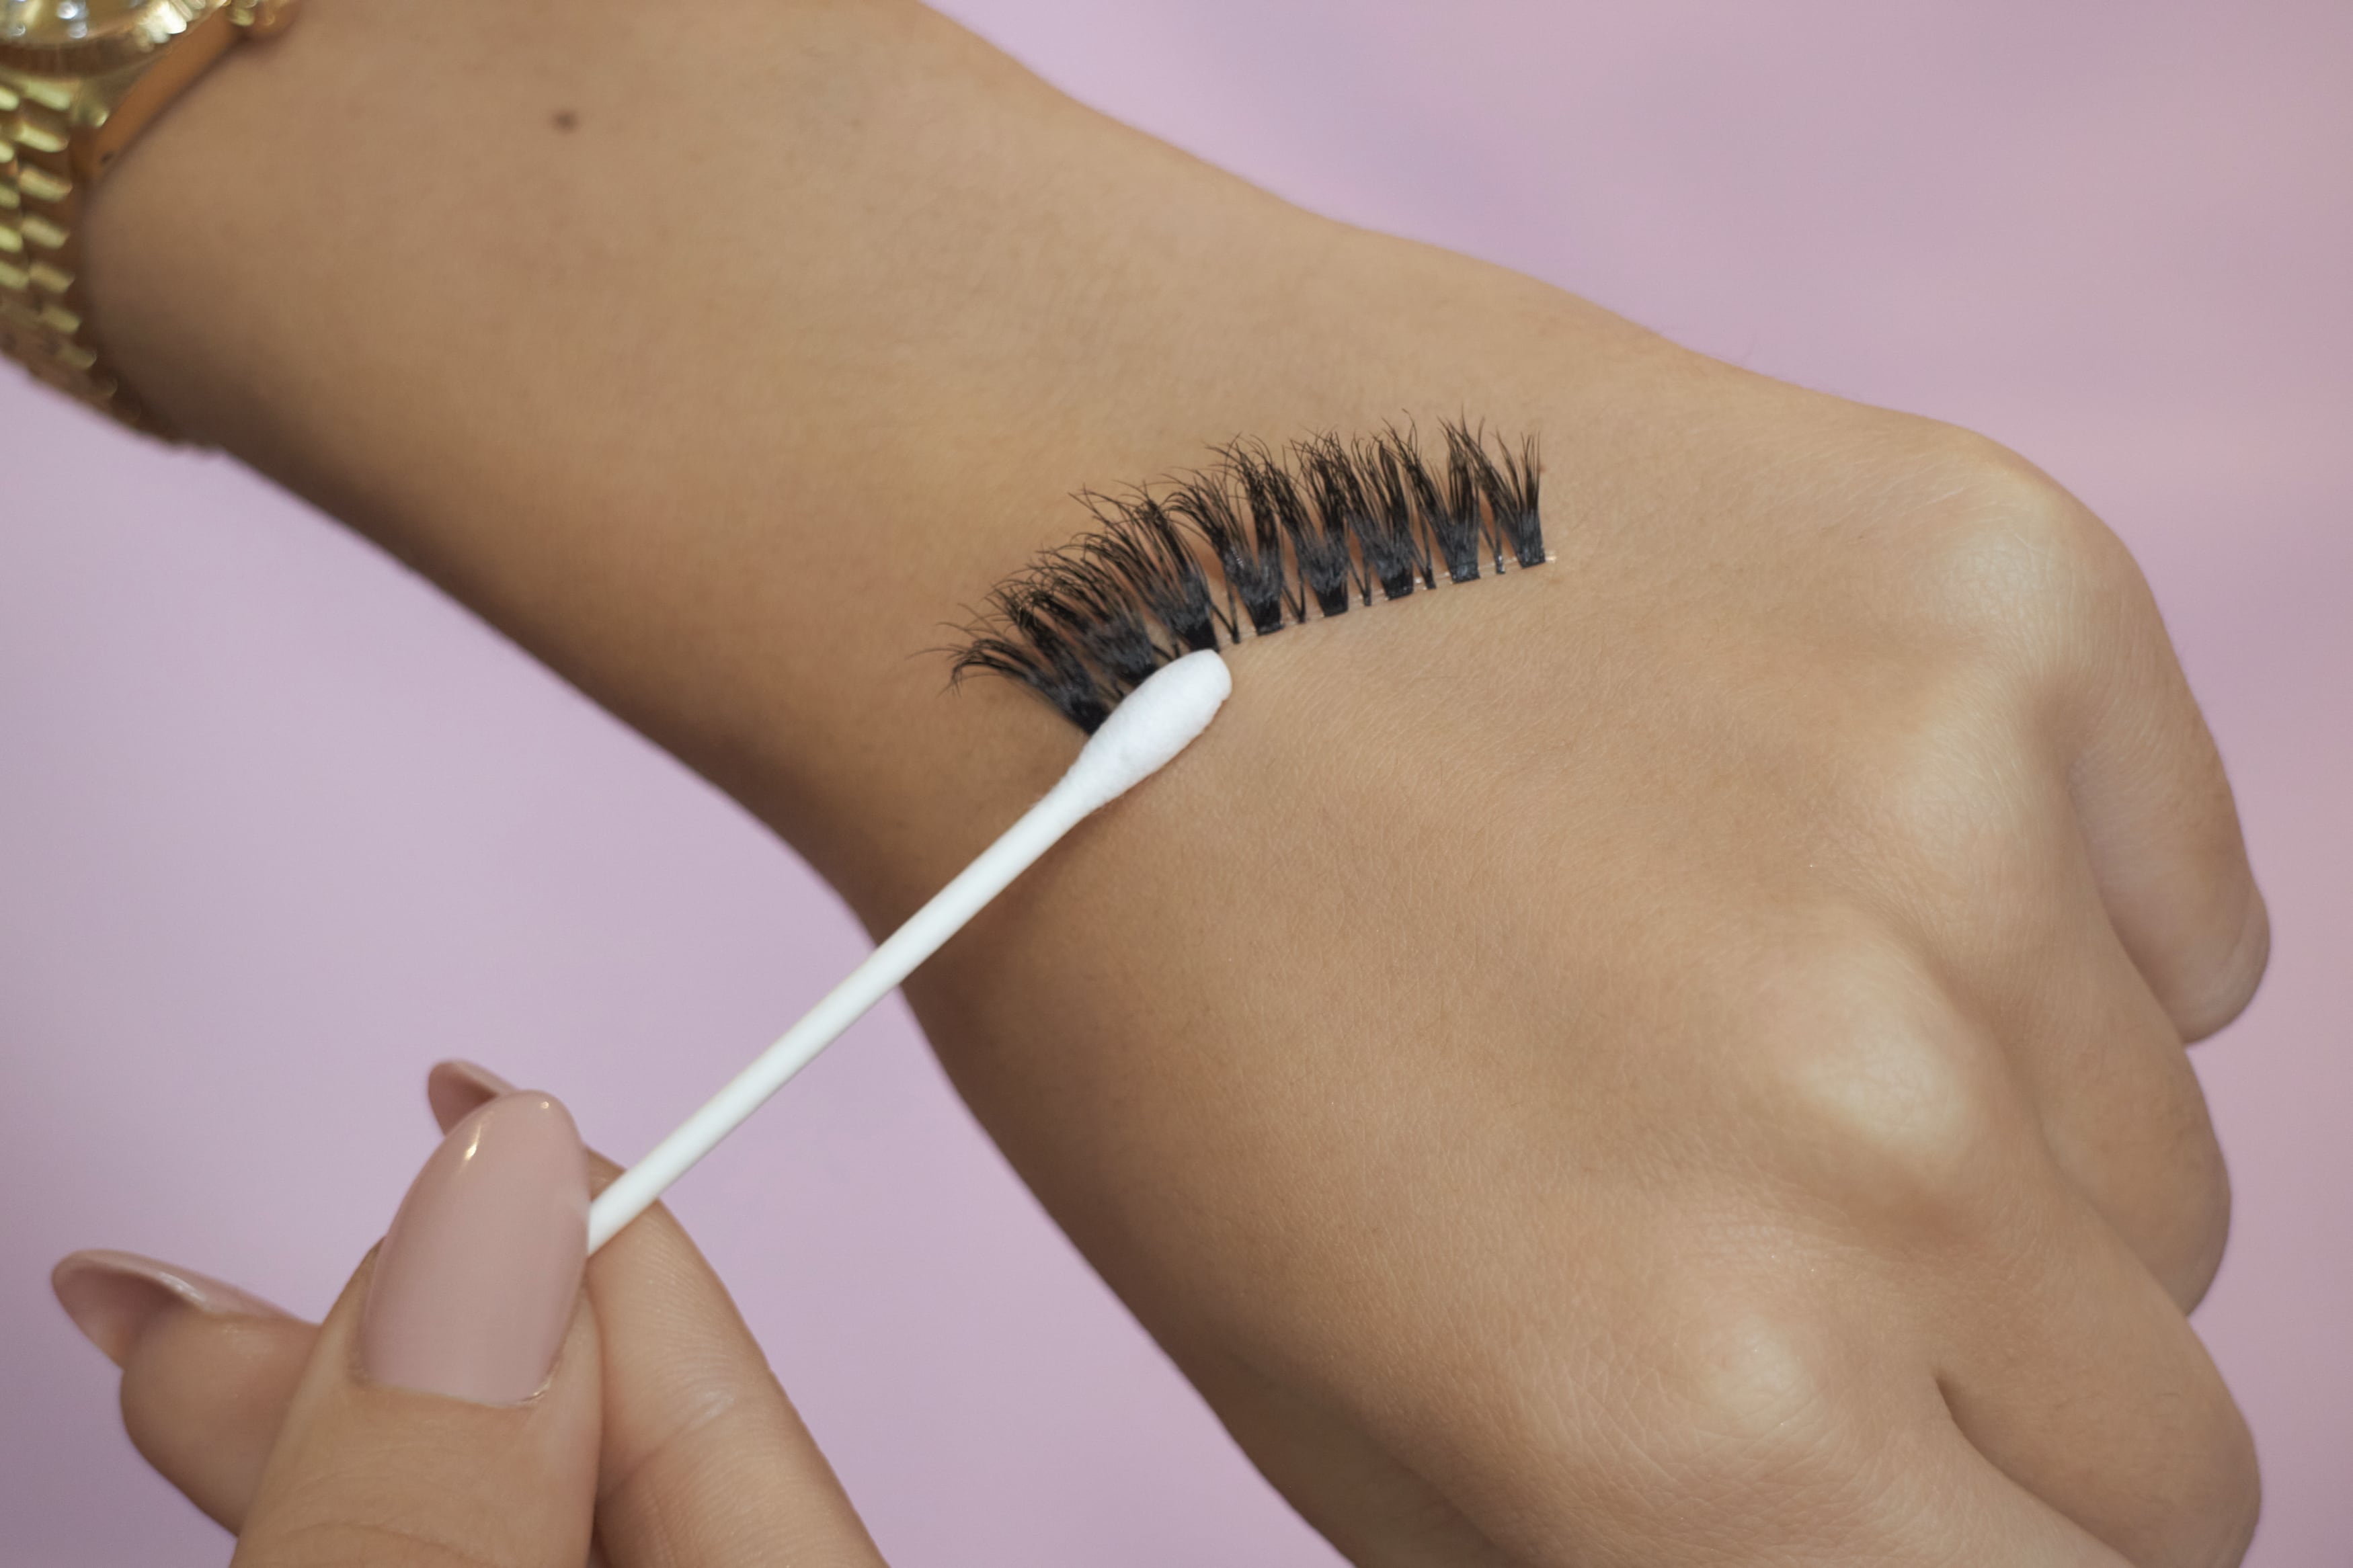
If there’s any glue left on your lashes after you remove them, carefully remove it with tweezers or your fingers. Take care to make sure that it’s just the glue build up that you’re removing. Don’t soak them in makeup remover or water as these can mess up the shape of your lashes - if you need to spot clean, use oil-free makeup remover on a cotton bud and dab gently.
Don’t just leave your lashes on your bedside table (we see you). Store them in their original box away from liquids to keep them safe and secure.
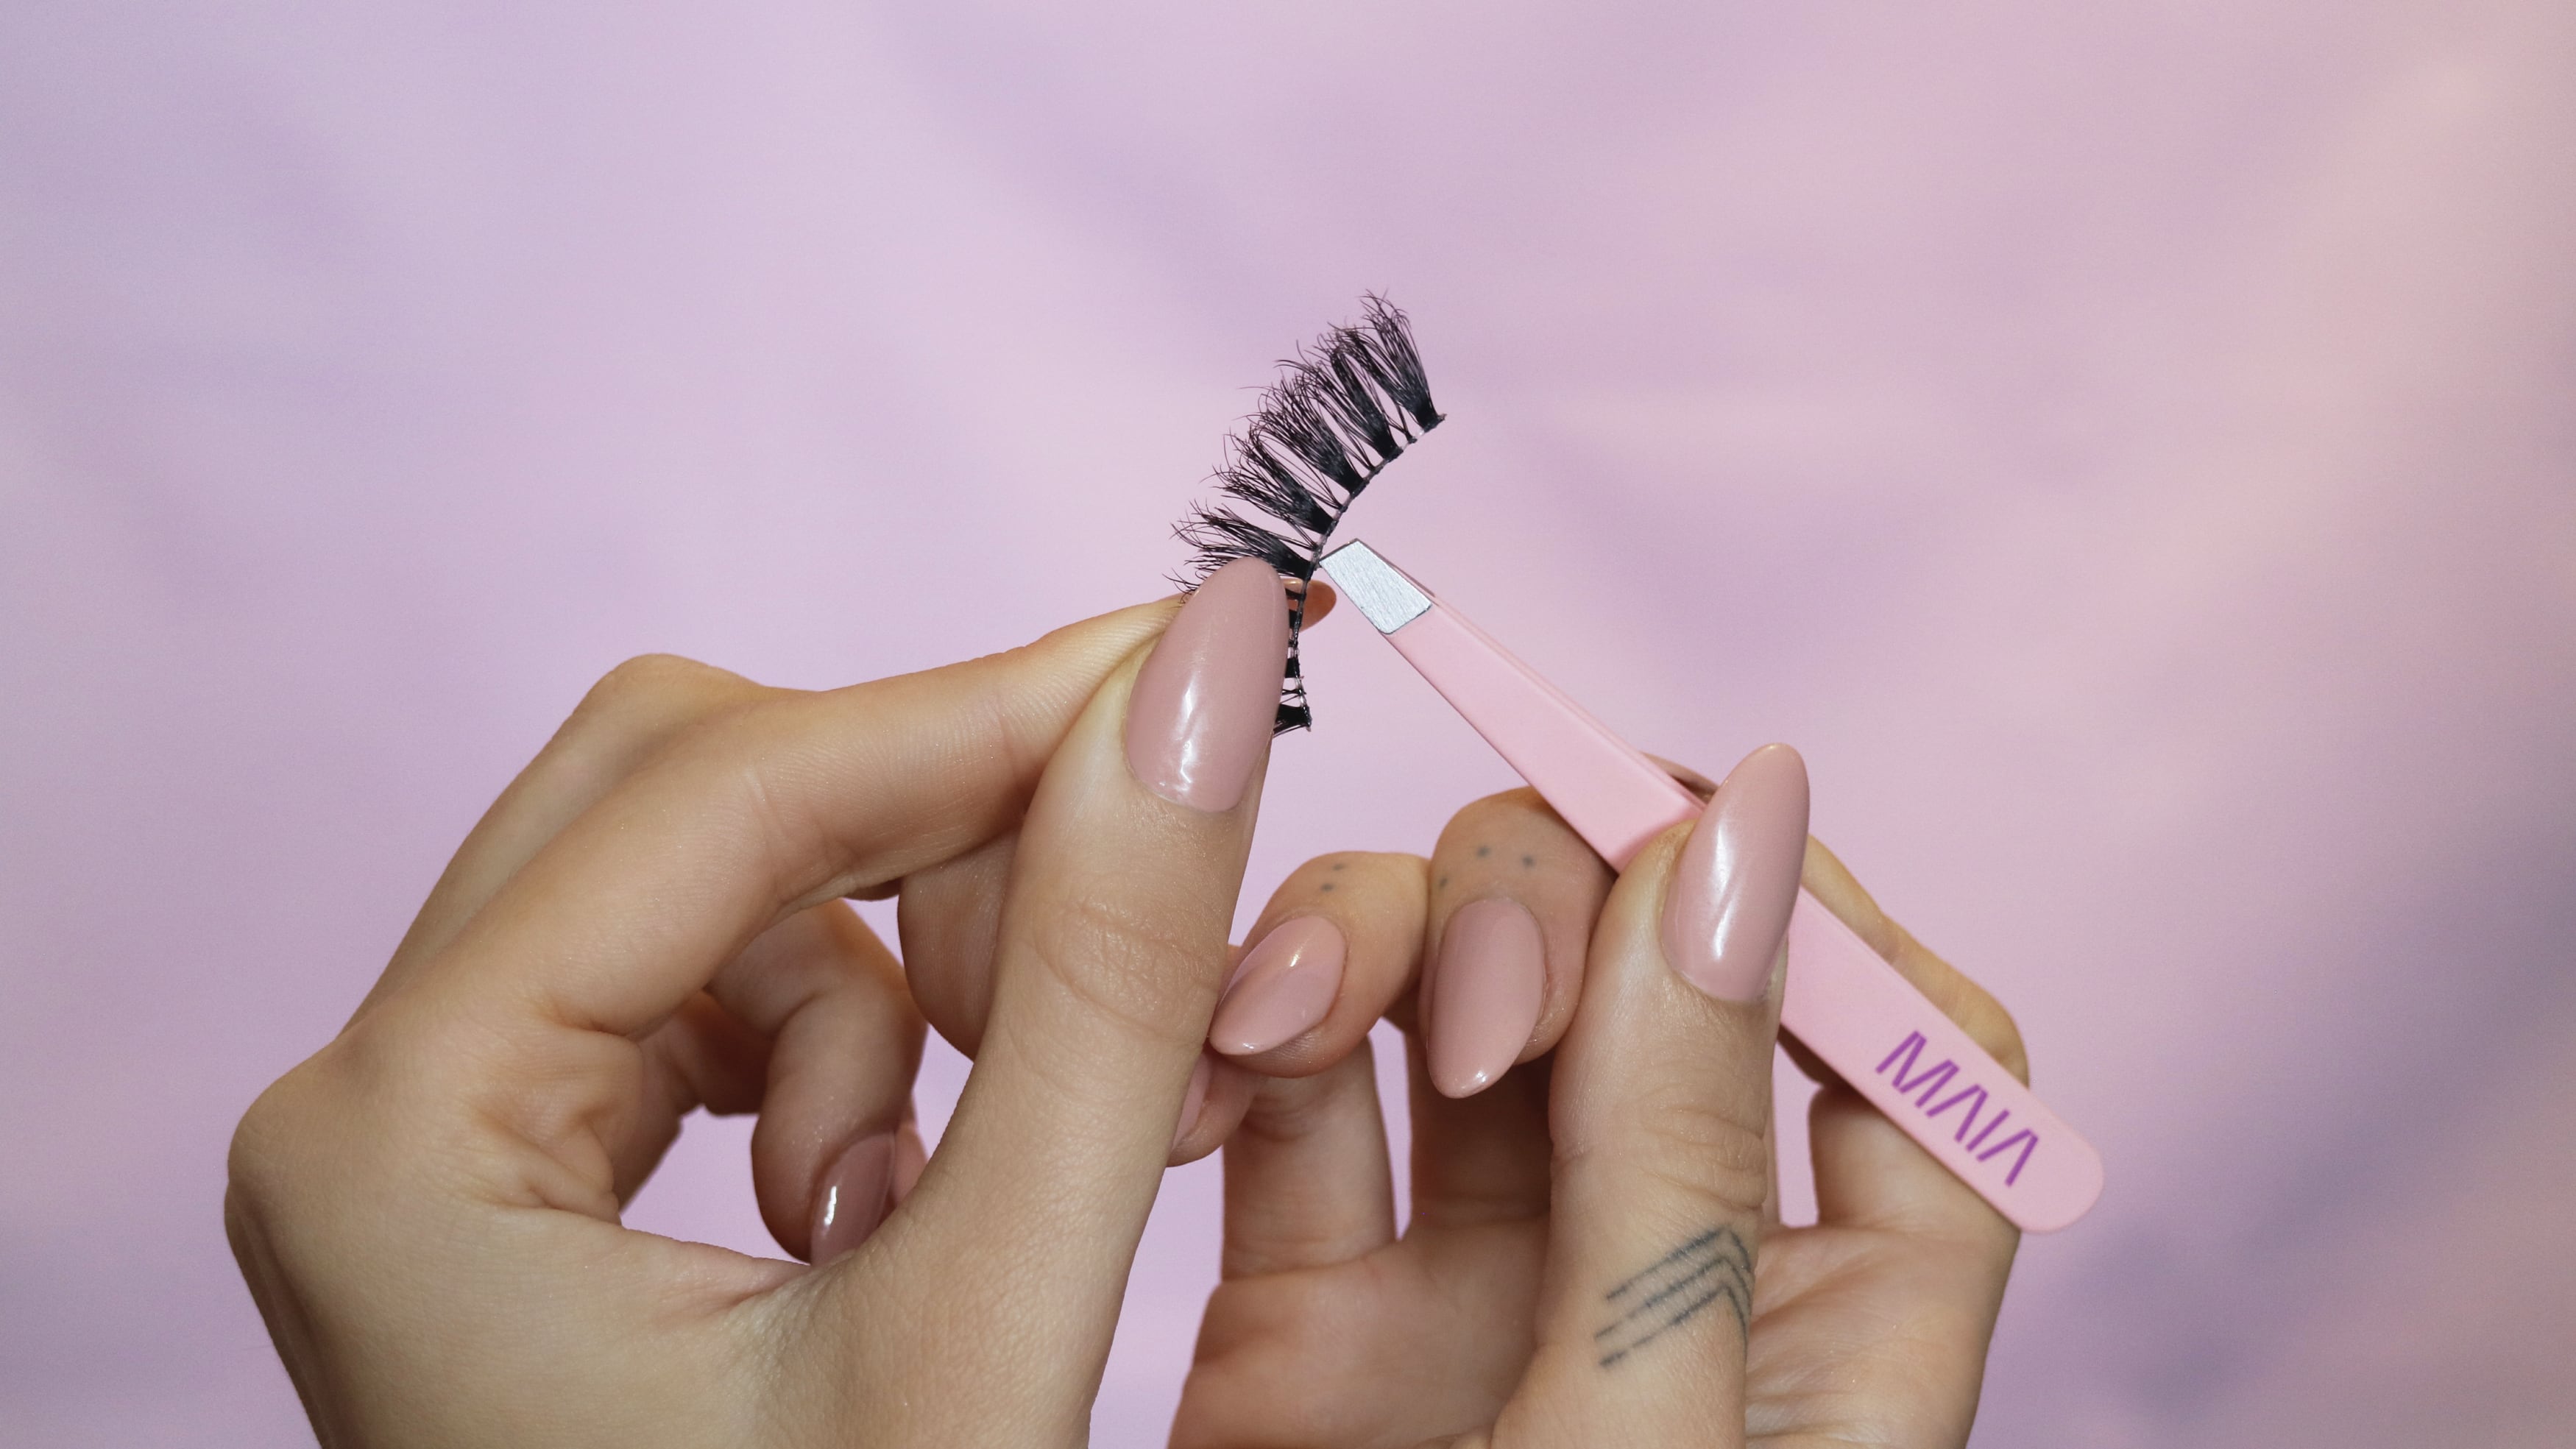
Our lashes are hand-made, so you should take care with them when you use them. Pick them up using the lash band rather than the hairs when you remove them.
If your lashes get wet and drop out of shape, you can reshape them using an eyelash curler whether they’re on or off your eyes
Measure your lashes by holding it up against your lash line to find the most natural fit for your lashes.
Trim the lash band to size using our lash scissors, making sure that you trim at the outer corner so that your lash stays in shape.
Starting with one eye at a time, apply Maia Lashes Magic Liner from the inner to outer corner of your lash line, just like you’d apply your normal eyeliner.

Apply them when your Magic Liner is still wet - using one of our lash applicators or tweezers, pick up the lash and place on top of your own lashes, as close to the lash line as possible. Press down the corners gently to make sure they’re secure.
Once the lash adhesive has dried and you’re happy with your lash placement, brush them upwards using the comb on your lash applicator for the most natural lash look.

Your lashes are in place and you’re ready to go!
Shop the Maia Lashes Magic Liner now.


